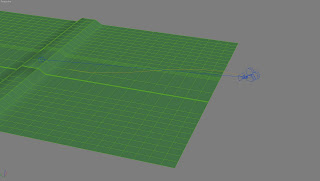
as with my previous cloud teapot i have used the same tutorial to get the process of how to create a tunnel of clouds. Tutorial i have not followed it to the word.
i started by creating an elongated s shape spline and a camera. i then added a path constraint to the camera so it would follow the spline. and started it at 0% on the line. i then turned on autokey. i moved to the 160th frame and set the %along the path to 90. i then assigned a path contraint to the camera target and clicked the spline. at frame 0 the % along the path was set to 10 and on the 160th frmae was set to 100% testing the animation the camera follows the path and the view is like a pilot of a plane would have when following the path.
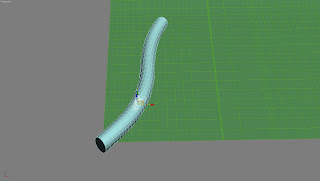
to create the clouds. i created a cylinder and aligned it to the spline. as the cylinder is like a template for the partical effect to follow. i went into object properties and deselected renderable.
i added the PathDeform (wsm) modifier and selected the path. i the changed the setting to make the cylinder stretch along the entire length of the spline.
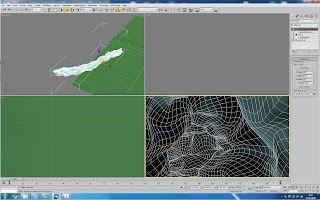
i then added turbosmooth with 2 iteration and the noise modifier.
lastly i added the push modifier. this made the walls of the cylinder bulge in round shapes into the middle. this is now a represenation of where the clouds will be.
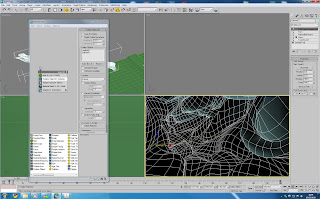
then open up the partical effects window by pressing 6. and configuesd the effect as shown in the picture. (i may need to increase the amount more as the clouds seem patchy.)
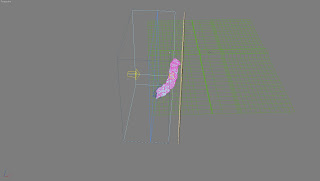
to light the clounds i have used a direct target light.
i used a render of the lights view to create a projection for the light in photoshop. to create a gradient.
this is the final result:
No comments:
Post a Comment