Thursday, 6 May 2010

Waggoner


after playing around with the garment and cloth modifiers i realised is wasnt possible to create realistic clothing with my limited knowledge of them. so i decided to model them onto my man.


i started with the collar of his shirt.

i selected a number of vertices around his neck and scaled them. then change their possition to make it look like the edge of the t-shirt.


for the sleave i selected the edges and clicked connect i then made the ring smaller than the rest of the arm and moved it inside the arm


i did the same for the trousers


and the same for the waist were the trousers and shirt join


i deleted the polys that were in the way of connecting the head


i then deleted half of the head and attached it to the body, removed the symetry modifier to make it easier to see where i need to connect.


i then started creating polys between the 2 objects.


due to my preperation in counting how many polys wide the head was i was able to do this easily.

body cont. 2


i extruded the ancle down to create the foot

and made the bottom of the foot. i then highlighted the polys on the bottom and selected make planar Z. to create a flat bottom of foot.

i then did the same process of scaling the arm as i did the foot. as the wrist is more of an oval shape than a circle so i just scaled it on the x axis.


i created the main body of the hand and then extruded the thumb and fingers out giving it 2 joints.


lastly i spaced them out

body cont.


this is how the torso looks with mesh smooth activated
upper arm and torso finished


i then selected the border of the edge of the arm and shift-dragged it to make it longer.
i gave it a few segments to enable it to bend properly when animating.


i then used the same method on the legs as i did with the arms. when extruding the edges where they overlapped at the crotch i deleted the overlapping polys and welded the verticies together.


at the ancle and the knee i used the soft selectiona and the scale tool to get the taper and make it look like a joint.


the last thing to do is the extremities and join the head.


Body


when starting the creation of my body i counted how many polygons wide the head was to enable me to cleanly join the head to the torso, it was 9 poly's. so the box i created had 9 width segments
I started by deleting the bottom half of the box and detaching the end sections to create the sholders
i then extruded the edges down to create the chest.


pulling the edges around at the sides of the end section i created the arm shape.
i also shaped the collar bone by moving the vertecies up and down.


this is the top and sides of the arm created
next the bottom and the sides of the torso.


after creating the sides the the torso was very box shaped, i used softselection and moved verticies to produce a naturnal curve to the side.


i used the same technique to create the profile of the torso.

Friday, 12 March 2010


aroudn the edge of the face and the jaw line i had quite a sharp line. i was unsure why this was and by accident i moved one of the vertecies and discovered that there were two on top of each other not welded.

after welding the vertecies the jaw and face had a nice smooth curve

Wednesday, 10 March 2010

intro sequence


as with my previous cloud teapot i have used the same tutorial to get the process of how to create a tunnel of clouds. Tutorial i have not followed it to the word.

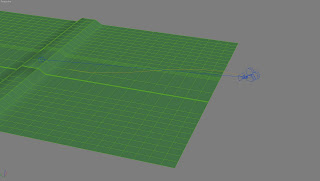
i started by creating an elongated s shape spline and a camera. i then added a path constraint to the camera so it would follow the spline. and started it at 0% on the line. i then turned on autokey. i moved to the 160th frame and set the %along the path to 90. i then assigned a path contraint to the camera target and clicked the spline. at frame 0 the % along the path was set to 10 and on the 160th frmae was set to 100% testing the animation the camera follows the path and the view is like a pilot of a plane would have when following the path.
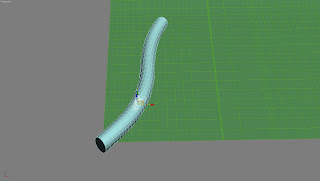
to create the clouds. i created a cylinder and aligned it to the spline. as the cylinder is like a template for the partical effect to follow. i went into object properties and deselected renderable.

i added the PathDeform (wsm) modifier and selected the path. i the changed the setting to make the cylinder stretch along the entire length of the spline.
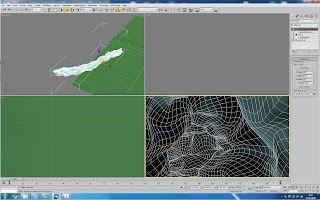


i then added turbosmooth with 2 iteration and the noise modifier.
lastly i added the push modifier. this made the walls of the cylinder bulge in round shapes into the middle. this is now a represenation of where the clouds will be.
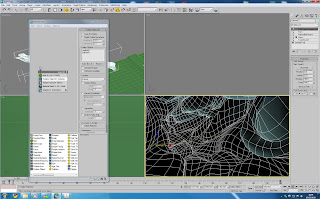


then open up the partical effects window by pressing 6. and configuesd the effect as shown in the picture. (i may need to increase the amount more as the clouds seem patchy.)
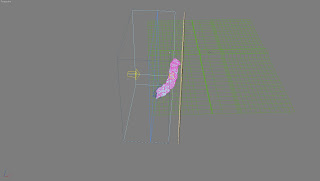


to light the clounds i have used a direct target light.
i used a render of the lights view to create a projection for the light in photoshop. to create a gradient.


this is the final result: